Beginners Tutorial
If you get stuck somewhere, please reach out to us on the #tutorial channel on our Workshop Slack. An invitation to this Slack will be sent to all registered attendees ahead of the workshop.
Preparation
To avoid spending time on compilation and installation of LAMMPS and related software, a preconfigured Virtual Box Linux virtual machine image is being provided for workshop attendees.
The virtual machine (VM) image can be installed and used in the same manner on a Windows, Mac, or Linux machine (see Known Issues at the bottom of the page). More specifically, it is a preconfigued Fedora 34 Workstation Linux system which includes LAMMPS, Ovito, KIM-API, and development tools. It thus provides a Linux environment for everyone to use on their machine. See the comment in Step 4 below if you are not familiar with Linux.
The VM image in Step 2 below includes content that will be used for the tutorial sessions. Note that the Developer session and/or breakout session might also make use of this VM image.
If you are attending the beginner session or any of those other sessions of the workshop, then AHEAD OF TIME you should install and configure Virtual Box on your machine, and download and import the provided VM image. We will assume all attendees have done that.
Specifically, you should follow steps 1-6 in advance of the workshop.
On any day of the workshop, you will only need to repeat Step 4 to be ready to go.
Install Virtual Box
You can download Virtual Box for your operating system from the Virtual Box Download Site.
For Windows and MacOS, launch the downloaded installer and follow the installation instructions. You might have to accept the installation of additional drivers and reboot your system afterwards.
For several Linux distributions, Virtual Box is also directly available for installation through the distribution's package manager tool (e.g. apt, yum, or dnf).
Download the LAMMPS Tutorial Virtual Box Image
This virtual machine image appliance file is a preconfigued Fedora 34 Workstation Linux system with LAMMPS, Ovito, KIM-API, and development tools pre-installed so we can start with the tutorial right away. Also, most of the tutorial materials and some related documentation are pre-installed and configured.
Download LAMMPS_Tutorial.ova
(5.8GB)
Launch VirtualBox and import the VM image
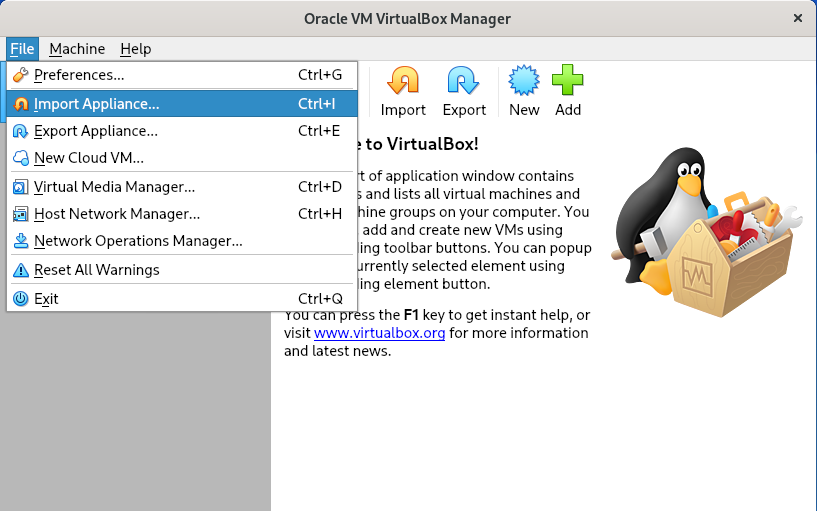
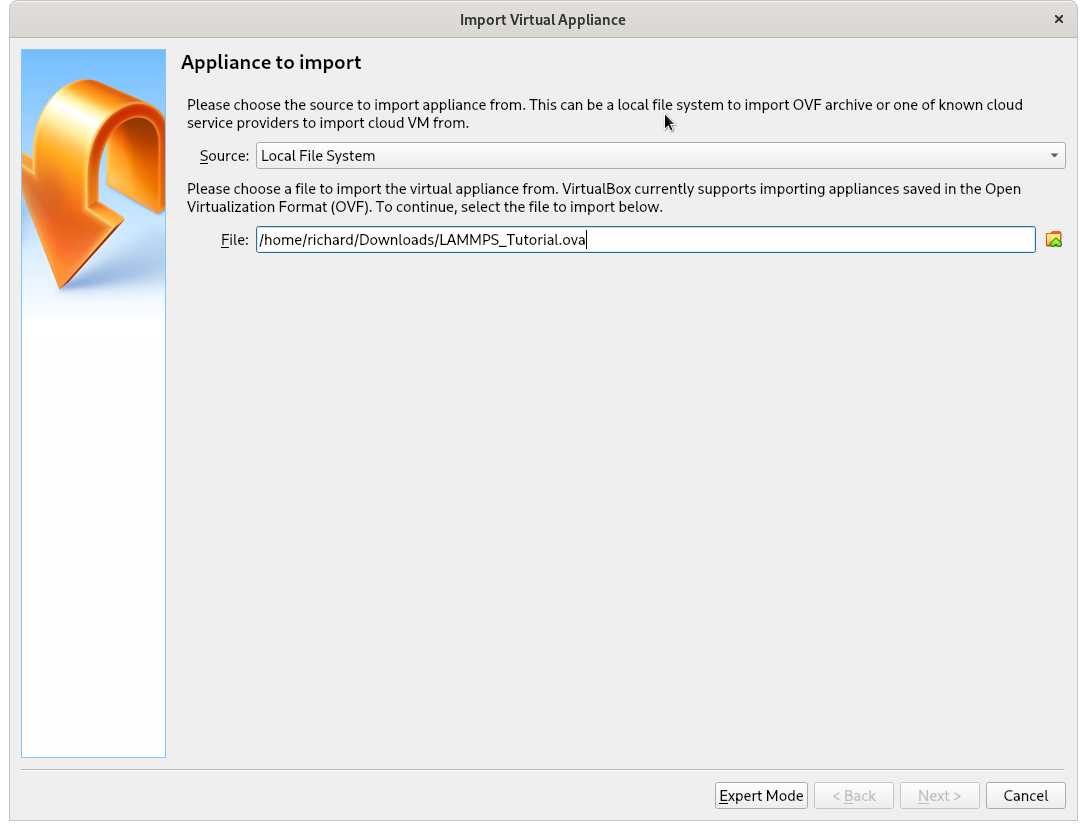
Launch VirtualBox and go to the "File" > "Import Appliance" option and import the file.
The virtual machine settings have been chosen very minimal for maximal compatibility. You are encouraged to adapt the settings to better match your machine for improved performance, e.g. increase available RAM and enable additional processor cores, possibly also improve the graphics settings. The current settings should be sufficient to run the LAMMPS hands-on tutorial sessions, but are not sufficient to compile LAMMPS.
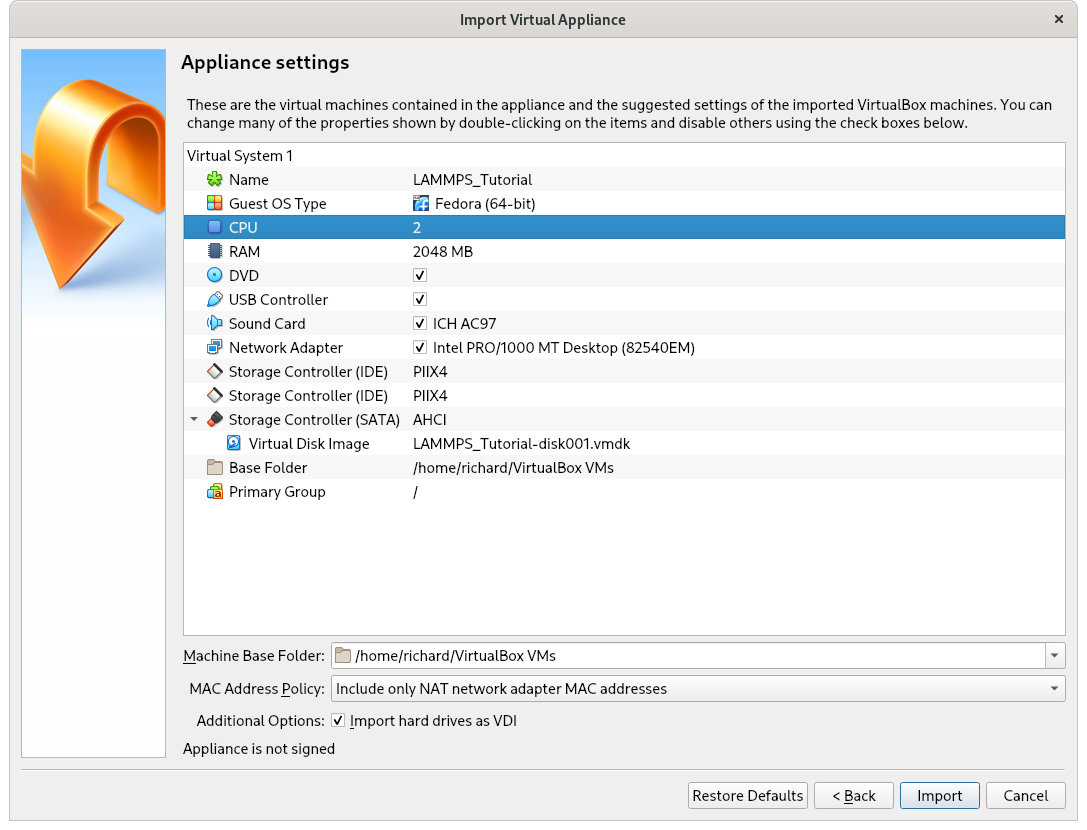
Once setting changes have been made, click on "Import". When the process is complete, you should see this next screen with a new LAMMPS_Tutorial entry.
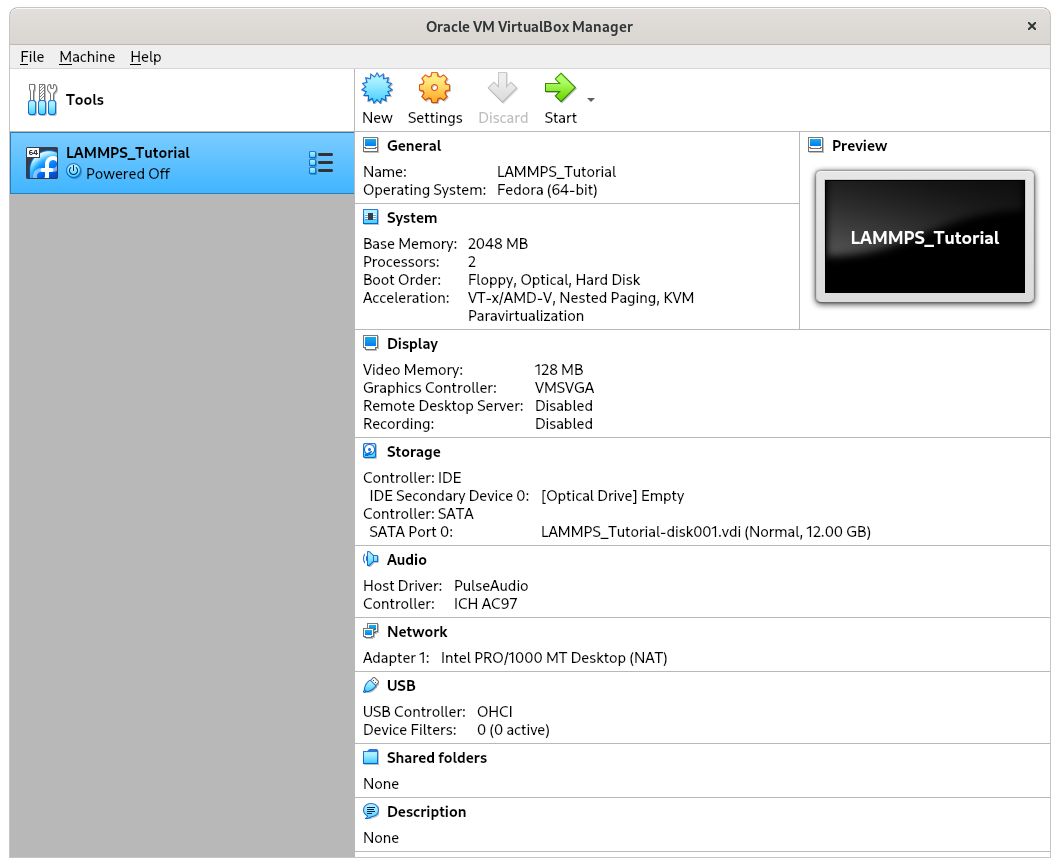
Your tutorial VM is ready to be used and initially powered off. You can think of the VM as a computer inside of your computer, that you can turn on and off, and even pause at any point in time.
Start the VM image
To power on the VM, select the "LAMMPS_Tutorial" entry in VirtualBox and press the green "Start" button.
This will open a new window, which represents the "screen" of your VM.
The VM will then boot the Linux system and automatically log in as "lammps" user.
| user | lammps |
|---|---|
| password | tutorial2021 |

This VirtualBox image provides you with a Linux environment which is where the tutorial exercises will be conducted. In the bottom toolbar you will find the Start menu and some application launchers.
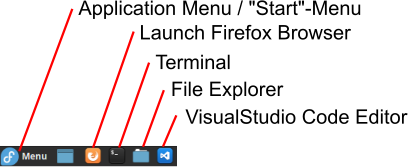
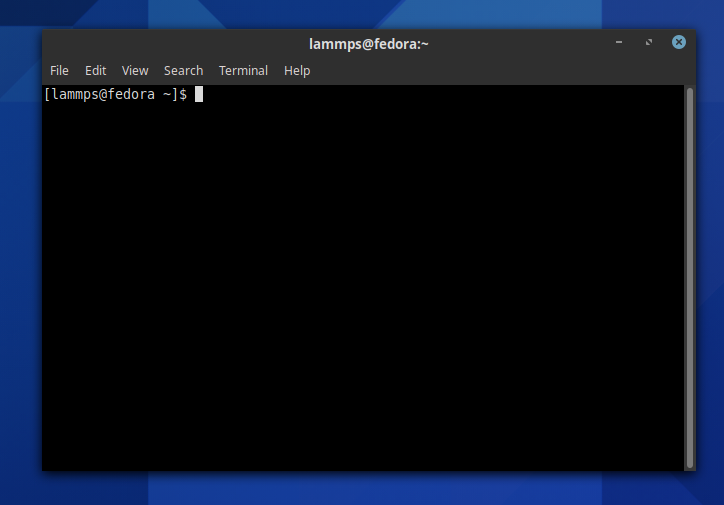
Go ahead and launch a terminal. This will be the starting point for most sessions.
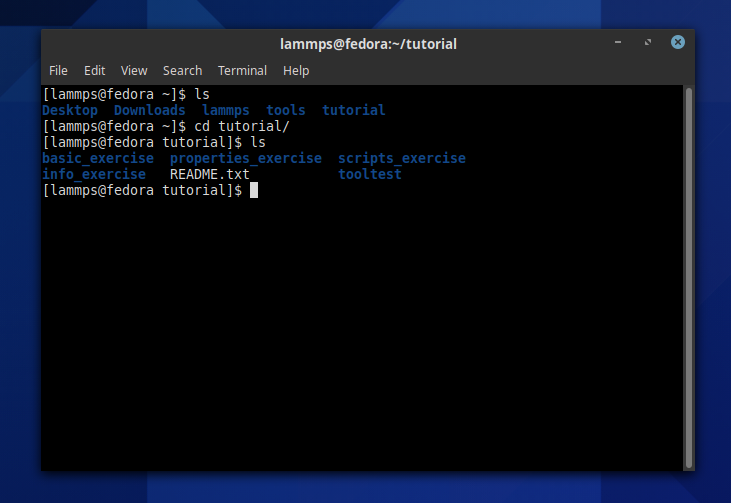
For the beginners tutorial, you can find the necessary files in the tutorial folder in the user's home directory.
For people not familiar with Linux, it will be beneficial to look up some Linux tutorials on the web and practice a little bit working on Linux (if you want to use LAMMPS on any HPC facility in the future, you will have to learn it anyway). E.g., there are tutorials in multiple languages on Linux Journey like Command Line, Text-Fu, and Advanced Text-Fu.
Read the tutorial/README.txt file
This step is for those attending the Beginners Tutorial sessions on the first day of the workshop
The README explains how to quickly try out all the software tools that will be used in the tutorial. Please do this (one time) in advance of the tutorial, so that you will be familiar with the tools when we start the first hands-on session of the tutorial.
The following video showcases what you should try out:
- (Windows/Apple Command ⌘)+Arrow keys allows you to rearrange windows
- Change the font size of your terminal by using CTRL+ or CTRL-
- On most Linux systems if you select text, you can paste using the Middle-Mouse button.
Shutting down the VM
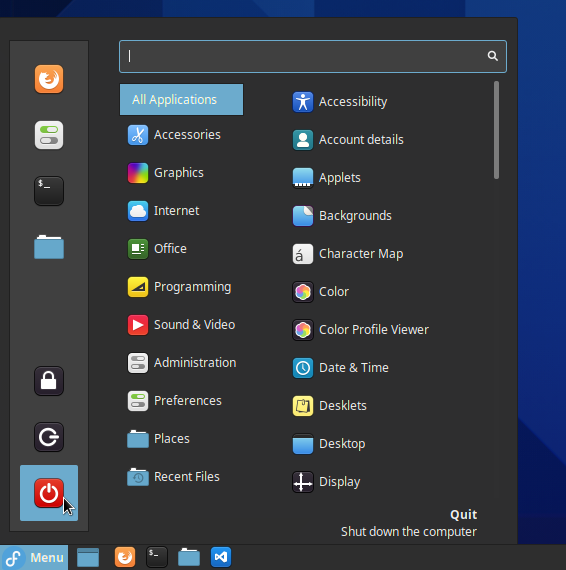
Once you're doing using the VM, you can shut it down by going to the "Start"-menu, selecting the power off button, and confirming "Shut Down".
The alternative is to close the VM window (press the X on the window border) and confirm that you want to shutdown the VM by sending the shutoff signal.

Note that all changes to the VM will be stored, so the next time you start it, the system will still have all your changes.
Known issues
VirtualBox and Windows Subsystem for Linux
If you are using the Windows Subsystem for Linux, this will negatively interfere with VirtualBox. WSL2 uses the Hyper-V hypervisor internally, which will disable AVX support. Meaning that the Linux VM will no longer see certain CPU features. This is problematic for some compiled libraries which use AVX instructions (like OpenMPI). It will also cause VirtualBox to run slowly. You can recognize that your VirtualBox VM isn’t working optimally if there’s a small green turtle  in the bottom right corner of your running VM. If this is the case, it is recommended to disable WSL completely and reboot before trying to run VirtualBox. Afterwards the VM symbol should be back to normal
M1 Macs and VirtualBox
M1 Macs do not support running VirtualBox at this time. At this moment the only workaround is to manually install LAMMPS and download the materials. See these instructions.
VirtualBox will not work on my system
See these instructions as a last resort.
Illegal instruction (core dumped)
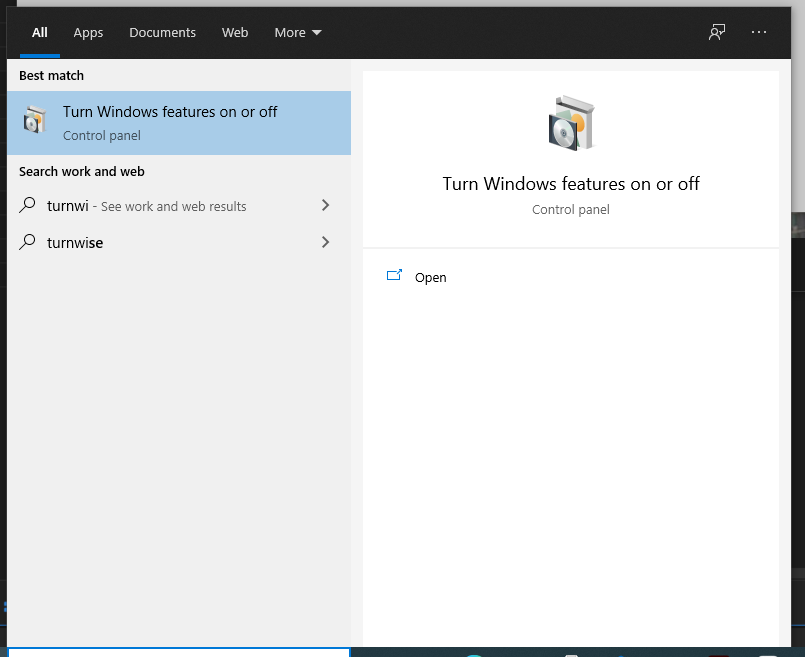
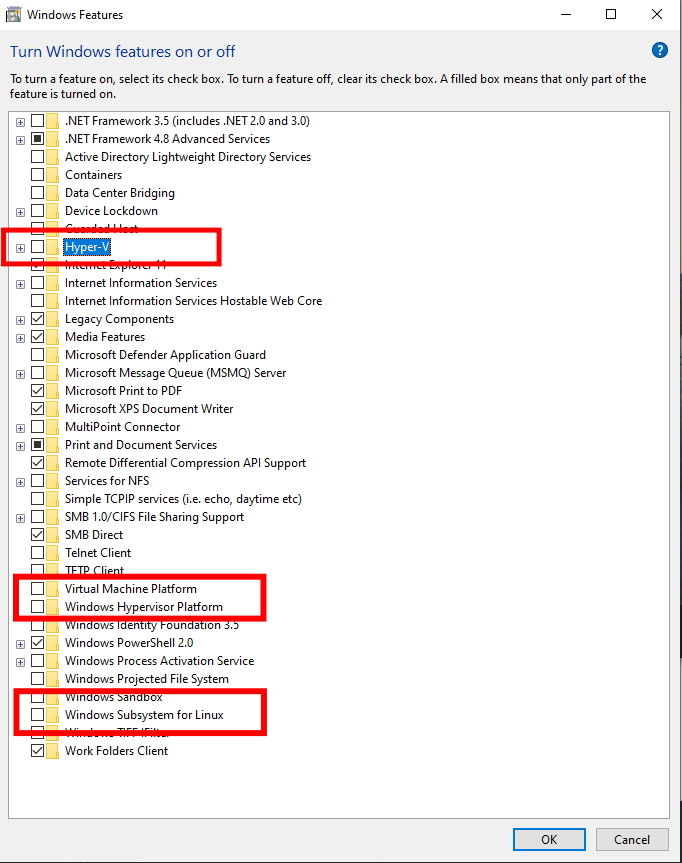
Workaround 1 (Windows 10 only)
On Windows 10, make sure the optional Windows Features Hyper-V, the Virtual Machine Platform, Windows Hypervisor Platform and Windows Subsystem for Linux are all OFF.
Workaround 2
You can try is to recompile the binaries for your system and use a different MPI. Inside of the VM, run inside of a terminal:
module load mpi/mpich-x86_64
source $HOME/.prepare/compile_lammps.sh
Try running now. Note that if this works, you will have to add the module
load mpi/mpich-x86_64 to the end of your $HOME/.bashrc file
so it automatically uses that one whenever you open a new terminal.